Removing Glued, Nailed, or Floating Hardwood Floors: What You Need to Know
When it’s time to update your home or address flooring repairs, knowing how to properly remove your existing hardwood floor is essential—especially since removal methods vary depending on whether your floor was glued, nailed, or installed as a floating system. In this guide, we break down the key steps, tools, and potential challenges involved in taking up each type of hardwood floor. Whether you’re preparing for a new installation or simply need a fresh start, you’ll find practical advice to help you handle the process efficiently and with minimal disruption to your subfloor or living space.
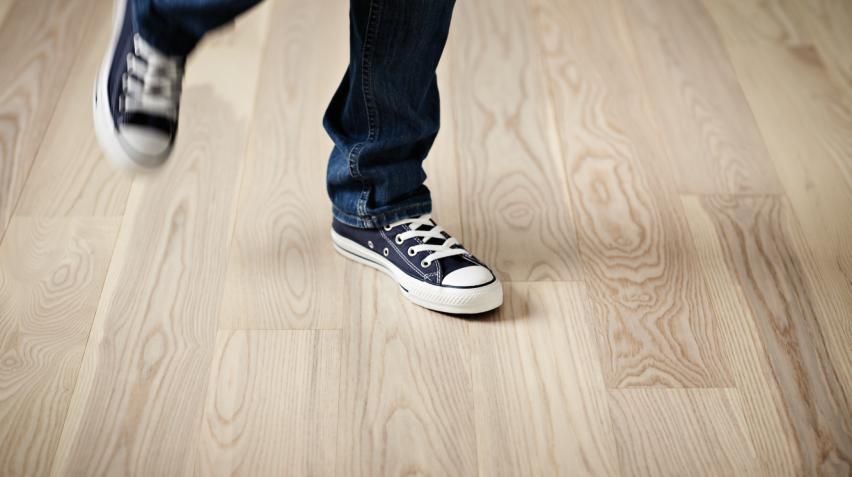
Understanding The Different Hardwood Floor Installation Methods
When considering removing hardwood flooring, the first step is to identify how your current floor was installed. In private homes, three main installation types are common: glued, nailed, and floating. Each method has its own characteristics:
- Glued floors are attached directly to the subfloor with adhesive, providing a solid, permanent feel.
- Nailed floors are fastened with nails or staples into a wooden subfloor, often using traditional planks or parquet patterns.
- Floating floors are not fixed to the subfloor at all but rest on an underlayment, with the boards connected by a click system or tongue-and-groove joints.
To understand more about these installation methods and their compatibility with features like underfloor heating, see the installation methods for Junckers solid hardwood flooring.
Knowing your floor’s installation method helps you select the right tools, avoid unnecessary damage, and plan the removal process more efficiently.
Essential Tools And Safety Equipment For Removing Hardwood Flooring
Before you begin, gather the necessary equipment for a safe and efficient project. The tools you need will depend on your floor type, but the following list covers most situations:
- Pry bar or crowbar
- Utility knife
- Hammer or mallet
- Floor scraper or putty knife
- Heat gun or hairdryer (for glued floors)
- Nail puller or magnetic sweeper (for nailed floors)
- Circular saw (for cutting boards, if necessary)
- Industrial vacuum or broom
For safety, always wear:
- Heavy-duty gloves
- Safety glasses
- Dust mask or respirator
- Knee pads
Preparation checklist:
- Clear the room of all furniture and decor
- Ensure adequate ventilation
- Protect any fixtures or surfaces not being removed
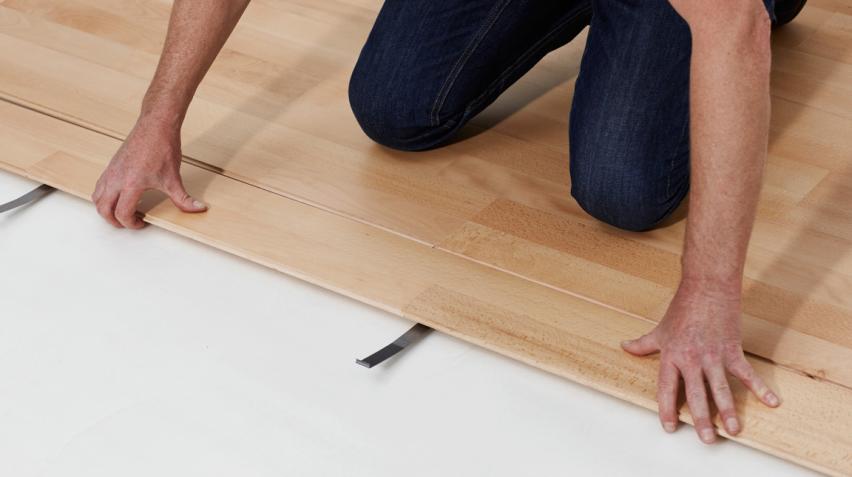
Step-By-Step Guide To Removing Floating Hardwood Floors
Floating floors are typically the easiest to remove, making them a practical choice for many homeowners. Follow these steps:
- Prepare the space: Remove furniture and baseboards, and roll up any rugs or coverings.
- Begin at the edge: Start at a corner or along a wall where the first row of planks was installed.
- Lift the planks: Use a pry bar to gently lift the first board, then continue lifting and disconnecting each plank. The interlocking system allows for easy separation.
- Remove underlayment: Once the boards are up, roll up the foam or other underlayment.
- Clean the subfloor: Sweep or vacuum any debris to prepare for the next installation.
If you are considering new flooring after removal, Junckers offers a broad range of solid hardwood flooring options suited for private homes.
Tip: If you plan to reuse or donate the flooring, work carefully to minimize damage to the planks.
Best Practices For Removing Glued Hardwood Floors
Glued floors require additional effort, as the adhesive bond can be strong. Here’s how to tackle this method:
- Work in sections: Start at an accessible edge or corner, using a floor scraper or putty knife to lift each plank.
- Soften the adhesive: Apply heat with a heat gun or hairdryer to soften stubborn glue, making it easier to separate the wood from the subfloor.
- Leverage and lift: Gently pry the boards, taking care not to damage the subfloor underneath.
- Remove adhesive residue: After the boards are up, use the scraper to remove any leftover glue. For persistent spots, apply additional heat or an adhesive remover approved for your subfloor type.
- Ventilation: Keep the space well-ventilated to manage fumes from heated adhesive.
Tip: Tackle small sections at a time to reduce fatigue and maintain control over the process.
How To Remove Nailed Hardwood Flooring Efficiently
Nailed floors can be more labor-intensive, but methodical work ensures good results:
- Remove trim and baseboards: This exposes the floor edges and makes removal easier.
- Loosen the boards: Insert a pry bar under the first board and gently lift. For stubborn boards, you may need to use a hammer or mallet for leverage.
- Cut in sections: If full-length boards are difficult to lift, use a circular saw to cut them into shorter sections (ensure you do not cut into the subfloor).
- Extract the nails: Use a nail puller or magnetic sweeper to remove any nails left in the subfloor.
- Clear debris: Once all boards and nails are removed, sweep or vacuum the area.
Tip: Move slowly and watch for splinters or sharp nails.
What To Check After Removing Hardwood Flooring
After removing hardwood flooring, take time to inspect the subfloor and surrounding area:
- Look for any signs of damage, such as cracks, moisture stains, or unevenness.
- Remove any remaining adhesive, nails, or staples.
- Assess whether the subfloor needs repairs, leveling, or cleaning before installing new flooring.
If you notice significant damage or persistent moisture, consult a flooring professional before proceeding.
Sustainable Disposal And Recycling Options
Disposing of old hardwood flooring responsibly is important for both your home and the environment. Consider these options:
- Separate reusable or undamaged planks for donation or resale.
- Contact local recycling centers to see if they accept wood flooring.
- Use designated waste facilities for flooring that cannot be reused or recycled.
- For floors made of certified wood, such as those from responsibly managed forests, recycling helps ensure continued environmental stewardship.
To learn how Junckers works with sustainability and responsible forestry, visit their page on a sustainable mindset.
Sustainable disposal aligns with the values of many homeowners and supports broader efforts for responsible resource use.
When To Call A Professional For Hardwood Floor Removal
Certain situations may require expertise beyond typical DIY capabilities:
- Large or complex spaces (such as multi-room apartments)
- Signs of structural issues in the subfloor or foundation
- Discovery of unexpected materials, such as asbestos-containing adhesives
- Need for special machinery or heavy-duty disposal
A professional installer or flooring contractor can provide efficient removal and guidance, minimizing the risk of damage and ensuring the best outcome for your home.
For further guidance, Junckers offers a series of helpful installation videos with practical demonstrations for both homeowners and installers.
Additional Resources And Guidance From Junckers
Junckers provides a collection of installation guides and maintenance advice to support your project from start to finish. Whether you’re planning to install a new solid hardwood floor or need tips on preparing your subfloor, the team is ready to assist.
Removing hardwood flooring is a key step in creating a fresh, welcoming space—let Junckers help you achieve results that last for generations. For detailed step-by-step guidance, explore our dedicated resources on installing, maintaining, and refinishing hardwood floors, or reach out to our experts for tailored advice.