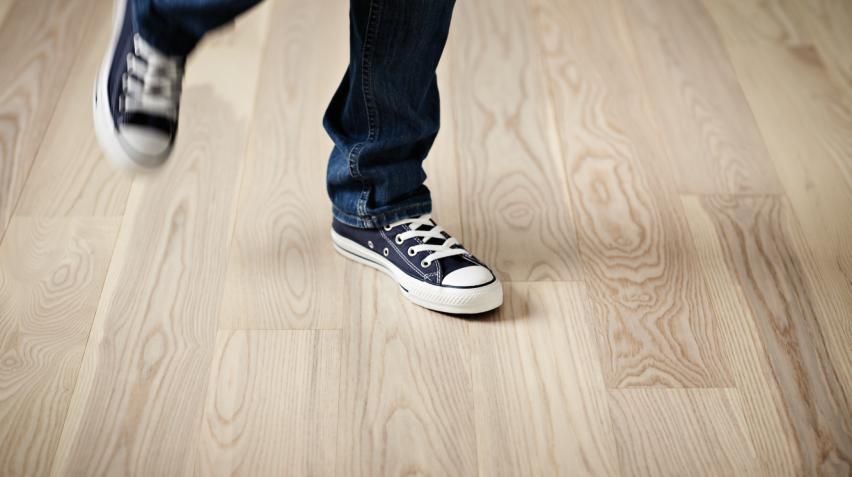
How to Replace or Repair a Single Damaged Hardwood Floor Board
A single damaged hardwood floor board can stand out and disrupt the beauty of your home’s flooring. Whether the board was scratched, cracked, or stained, you don’t need to replace the entire floor to restore its original look. In this guide, you’ll find practical, step-by-step instructions on how to identify, remove, and replace or repair a damaged board—using tools and materials that are accessible to most homeowners. Learn how to address common issues efficiently and achieve a seamless result, so your hardwood floor stays attractive and durable for years to come.
Why Repair a Single Hardwood Floor Board
A single damaged board can disrupt the natural beauty and harmony of your hardwood floor. Common causes include scratches from moving furniture, dents from dropped objects, moisture damage, or everyday wear and tear. For private homeowners who value their home’s appearance and comfort, knowing how to repair a hardwood floor board is the ideal way to restore your floor without the need for a complete replacement.
Targeted repair is a smart solution that maintains the character and longevity of your solid wood floors—especially when you’ve invested in high-quality Junckers flooring. Rather than replacing the entire surface, you can address only the affected area, preserving both your floor’s aesthetics and your peace of mind.
What You Need Before Starting the Repair
Before you begin, it’s important to gather the right tools and materials for a smooth, successful result. Here’s a practical checklist to help you prepare:
- Replacement hardwood floor board (preferably from the original floor batch or a close match in species and surface finish)
- Circular saw or oscillating multi-tool
- Hammer and chisel
- Pry bar or flathead screwdriver
- Measuring tape
- Wood glue
- Finish nails and wood putty
- Safety gear (gloves, goggles)
When choosing a replacement board, look for the same wood species—such as oak hardwood flooring, ash hardwood flooring, or beech hardwood flooring—to ensure an even look. Junckers’ wide range of solid hardwood floors, including options with ultra matt lacquer or nature-inspired oil, makes it easier to achieve a seamless repair that matches your existing finish.
How to Repair a Hardwood Floor Board: Step-by-Step Guide
Assessing the Damage and Identifying the Board
Start by closely examining your floor to identify the damaged board and assess the extent of the issue. Is the damage limited to a small area, or has it affected the subfloor as well? The exact location of the board—whether it’s at the perimeter or in the middle—will influence your approach. Deciding whether to repair or replace depends on the severity; superficial scratches might only require refinishing, while deeper cracks or warping will need a full board replacement.
Removing the Damaged Board Safely
Once you’ve determined that replacement is needed, the next step is safe removal:
- Carefully mark the damaged board’s edges.
- Use a circular saw or oscillating multi-tool to cut along the seams within the marked area. For boards installed using a click system, removal may be more straightforward.
- Make additional cuts across the board (such as an “H” pattern) to break it up for easier removal.
- Use a pry bar, flathead screwdriver, or chisel to gently lift out the broken pieces. Take care to avoid disturbing neighboring boards or the subfloor, especially with glue-down or batten-mounted installations.
If you would like to watch the process before starting, installation videos and repair guides from Junckers provide step-by-step visual instruction.
Preparing the Space for a New Board
After removal, clean the exposed area thoroughly:
- Remove any debris, old glue, or nails from the subfloor.
- Inspect the subfloor for any damage or unevenness; repair as needed to create a stable base for the new board.
- Ensure the area is dry and free of dust to promote proper adhesion.
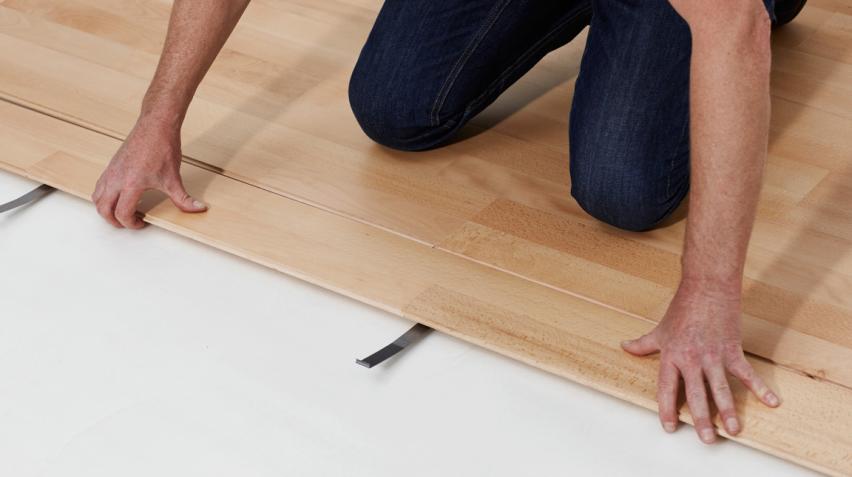
Fitting and Installing the Replacement Board
Next, measure the opening for a precise fit. You may need to:
- Trim the replacement board to match the exact dimensions (e.g., 129 mm (5 in), 140 mm (5 1/2 in), or 185 mm (7 1/4 in)) of the removed piece.
- Adjust the tongue or groove edges so the board can fit snugly into place.
- For Junckers floors, the factory finish helps minimize further preparation.
Apply wood glue to the edges and carefully position the new board, aligning the wood grain and finish with the surrounding area. Tap it gently into place, ensuring it sits flush with adjacent boards.
Where possible, secure the board using finish nails, countersinking them slightly to maintain a smooth surface.
Finishing Touches for a Seamless Result
Once the new board is in place:
- Fill any nail holes with wood putty matched to your floor’s color.
- Wipe away excess glue and allow the area to dry.
- If needed, lightly sand the repair area and apply the appropriate surface finish (such as ultra matt lacquer or nature-inspired oil) to blend the new board with the rest of the floor.
To achieve the most durable and attractive result, consider Junckers’ woodcare finishes and sealers, designed specifically for hardwood floors in private homes.
Tips for a Successful Hardwood Floor Board Repair
- Use boards from the original installation batch when possible, or select a close match from Junckers’ range.
- Maintain proper expansion gaps (typically 10–15 mm (3/8–5/8 in)) around the perimeter to prevent future issues with buckling.
- Take extra care when working with underfloor heating systems—Junckers floors are fully compatible, but it’s still important to follow best practices during repairs.
- If the installation is complex or the floor is particularly old, consider seeking professional assistance to ensure the best result.
Regular aftercare also plays a key role in a flawless floor. Find practical advice for cleaning and maintaining your hardwood floor, whether oiled, lacquered, or soap-treated.
Sustainable Repair Choices with Junckers
Choosing to repair rather than replace supports a more sustainable approach to home maintenance. Junckers’ solid wood floors are sourced from responsibly managed FSC® and PEFC-certified forests, ensuring ethical use of natural resources. Many Junckers floors also carry indoor climate labeling, making them a safe, healthy choice for your family.
Learn how Junckers’ environmentally responsible flooring solutions contribute to a better indoor climate and long-lasting durability by exploring their sustainability initiatives.
By repairing a single damaged board, you help minimize waste and contribute to a longer-lasting, environmentally conscious flooring solution.
Need Help or Inspiration for Your Flooring Project
If you have questions about how to repair a hardwood floor board or want guidance on finding the perfect match for your existing floor, Junckers is here to help. Contact our team for expert advice, explore our maintenance and product selection guides, or find a local dealer to assist with your project.
For more inspiration and technical guidance, visit our website sections on wood plank flooring and discover flooring options that combine quality, durability, and style for your home.