How to Install a Portable Sports Floor | A Complete Guide
Installing a portable sports floor requires a systematic approach to ensure performance, safety, and longevity. This guide provides a practical overview of each step involved in setting up a portable hardwood sports floor, from initial site preparation through to final inspection. Whether you are an installer, dealer, or specifier, you will find clear, actionable instructions covering key considerations such as subfloor requirements, panel alignment, and compliance with industry standards. By following these guidelines, you can achieve a stable and reliable sports surface suitable for a variety of athletic and multi-purpose events.
See our technical data sheets for guidance on your specific system

Understanding Portable Sports Flooring Solutions
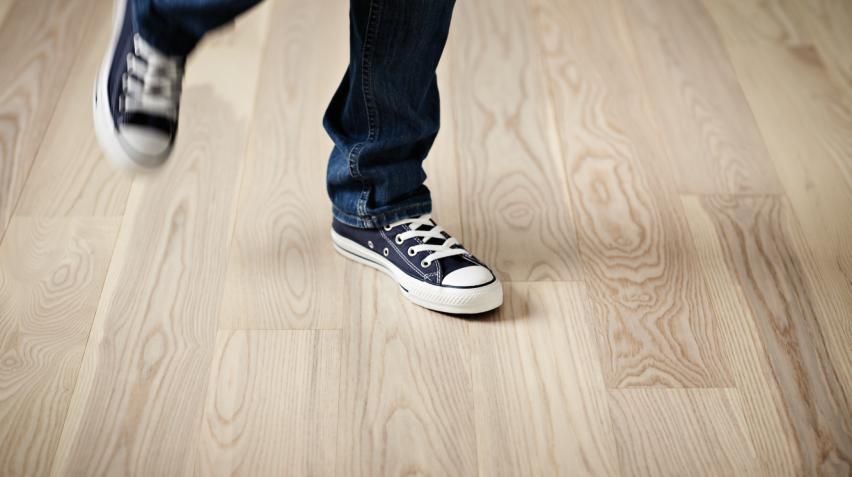
Portable sports flooring solutions offer a practical and flexible alternative to traditional fixed installations, making them the preferred choice for venues hosting a wide variety of activities. These systems are designed to meet the needs of sports halls, arenas, and multi-purpose spaces where rapid installation, temporary use, and repeated assembly are required. Junckers’ portable sports floor systems, such as Pro Complete 44 and Arena Master, are crafted from solid hardwood and engineered for stability, durability, and performance. With the ability to accommodate sponsor logos, custom markings, and event-specific graphics, these flooring solutions provide both functional adaptability and visual appeal.
Key Considerations Before Installation
How to install a portable sports floor begins with careful planning and assessment to ensure the system meets both functional and safety standards. Start by evaluating the suitability of the venue, verifying that the subfloor is clean, dry, and level. Environmental conditions, such as humidity and temperature, should be stable to prevent unwanted expansion or contraction of the hardwood panels. Confirm that the chosen portable sports flooring solution is compliant with EN 14904 requirements, ensuring optimal shock absorption, ball bounce, and surface friction for athlete safety. Proper site preparation and system selection are essential to achieving the high performance and longevity expected from a Junckers sports floor. If you need to compare different portable systems, take alook at the portable sports flooring solutions selector.
Preparing the Site and Materials
A successful installation begins with meticulous site preparation. Follow these essential steps:
- Remove all dust, debris, and previous finishes from the subfloor.
- Ensure the subfloor—most often concrete—is flat, smooth, and free of moisture issues.
- Conduct a moisture test if necessary to confirm suitability for solid hardwood.
- Acclimate the flooring panels by placing them in the installation environment for the recommended period, allowing the wood to adjust to ambient conditions.
Having the right materials and tools on hand—such as measuring tape, rubber mallet, straight edge, and safety equipment—will streamline the process and help maintain the integrity of the portable sports flooring solution.
See How Pro Complete 44 Is Installed — The Floor Chosen for FIBA and Olympic Events
Watch how our top-level portable sports floor system is installed in minutes, trusted by elite venues around the world.
Step-by-Step Guide to Installing a Portable Sports Floor
Planning the Layout
Begin by carefully measuring the area and marking the boundaries of the installation. For optimal visual and functional results, plan the orientation of the panels or modules, working from a reference point such as a corner or the center of the space. This ensures even coverage and efficient use of materials, particularly important when installing sponsor graphics or court markings.

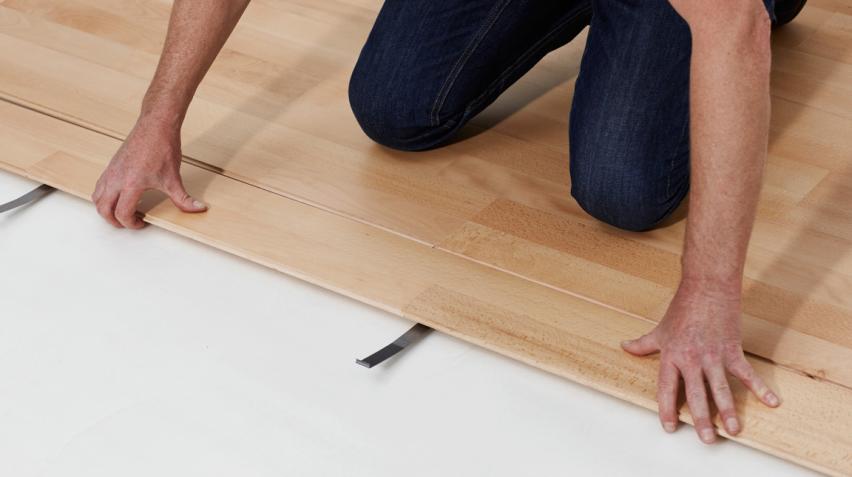
Assembling Portable Floor Panels
Junckers’ portable sports floors are designed for straightforward assembly. Align each solid hardwood panel according to the manufacturer’s guidelines, making sure interlocking mechanisms are properly engaged. Use recommended tools, such as a rubber mallet, to securely connect panels without damaging the surface. Continue working methodically across the floor, checking alignment and stability as you progress. For detailed product information on panel assembly, visit the Arena Master portable sports floor system page.

Accommodating Expansion and Movement
To ensure reliable performance, leave the necessary expansion gaps around the perimeter of the floor as specified in the installation instructions. These gaps accommodate natural movement in the hardwood, especially in environments with changing humidity or temperature. This step is critical for maintaining the long-term durability of the portable sports floor, particularly when the system is assembled and dismantled multiple times.

Finishing Touches and On-Site Customization
After the main floor has been installed, apply any required line markings, sponsor logos, or custom graphics. Junckers’ portable sports flooring solutions can be delivered with pre-applied markings or finished on site using approved lacquers and paints. This flexibility allows the floor to be tailored for a range of events, sports, and branding requirements—enhancing both functionality and presentation.
Inspection, Maintenance, and Preparing for Future Use
Before the floor is put into use, carry out a thorough inspection to ensure all panels are securely connected and the surface is even and safe for play. Routine cleaning and periodic checks will help preserve the appearance and performance of the solid hardwood surface. For detailed maintenance guidance, visit the section on maintaining and refurbishing wooden sport floors. Junckers’ portable sports floors are engineered for repeated installation—panels can be sanded and refinished multiple times, extending the life of the system. When dismantling, carefully store and transport the panels according to manufacturer guidelines to maintain their quality for future events.
Why Choose Junckers for Portable Sports Flooring Solutions
Junckers’ portable sports flooring solutions are built to the highest standards of quality and sustainability. Manufactured from 22 mm solid hardwood and available in a range of species and gradings, these systems meet the rigorous demands of multi-sport venues. EN 14904 certification, FSC documentation, and long-term durability ensure confidence for installers, architects, and specifiers. See a range of completed sports flooring projects for inspiration, or contact us for technical specifications and tailored advice for your next project.

Frequently Asked Questions About Choosing the Best Sports Floor
How do you install a portable sports floor? add
Installing a portable sports floor always starts with proper site preparation, including cleaning and leveling the subfloor. Systems like Arena Master portable sports flooring are engineered for easy, modular assembly. Each panel clicks into place using a simple interlocking system—no adhesives required. Always leave expansion gaps around the edges and follow EN 14904 standards for safe playability.
Every portable floor system is different, so it’s important to follow the correct method for your specific product. For detailed guidance, visit our fixed and portable sports floor installation instructions to ensure a successful and compliant setup.
What makes portable sports floors ideal for multi-use venues? add
Portable hardwood sports floors like Pro Complete 44 are ideal for venues that frequently switch between activities—such as basketball, school events, or concerts. These systems offer fast setup, easy transport, compact storage options, reliable performance, and visual customization.
Learn more in our guide on the benefits of using portable sports floors for indoor sports.
What tools and conditions are required before installing a portable floor? add
A successful installation starts with a clean, level, and dry subfloor. You'll need standard tools like a straight edge, rubber mallet, and safety gear. Acclimate the panels to room temperature before setup, if needed.
To compare installation needs across systems, visit the portable sports flooring selector to find the right product for your venue.
Can portable floors be reused multiple times without damage? add
Yes. Junckers portable floors are crafted from 22 mm solid hardwood, engineered for repeated assembly and dismantling. If maintained correctly, they can be sanded and refinished—extending their lifespan dramatically. For best practices on preserving floor quality, visit our guide to how to maintain a portable floor after a sports event.
Are portable sports floors customizable for different sports or events? add
Absolutely. Portable floors can be supplied with pre-applied line markings, event logos, and even sponsor graphics. This allows event organizers and venue managers to create tailored surfaces for basketball, volleyball, exhibitions, and more.
To learn more about the options, explore our printed solution for portable sports floors.
Let's communicate about your project
Tell us about your venue, your timeline, or your flooring needs — and we’ll get back to you with expert guidance and tailored solutions.